


Armour Mount
If you need more information, please do not hesitate to contact us through the contact page or download the brochure using the button below.
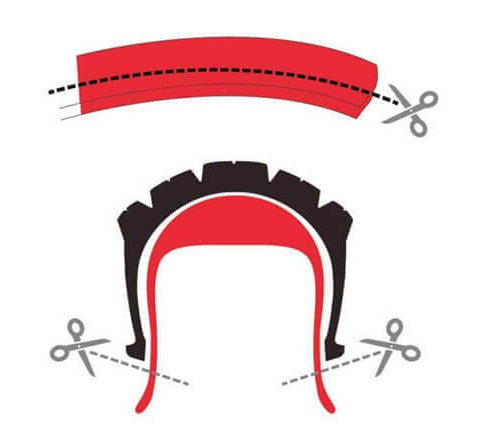
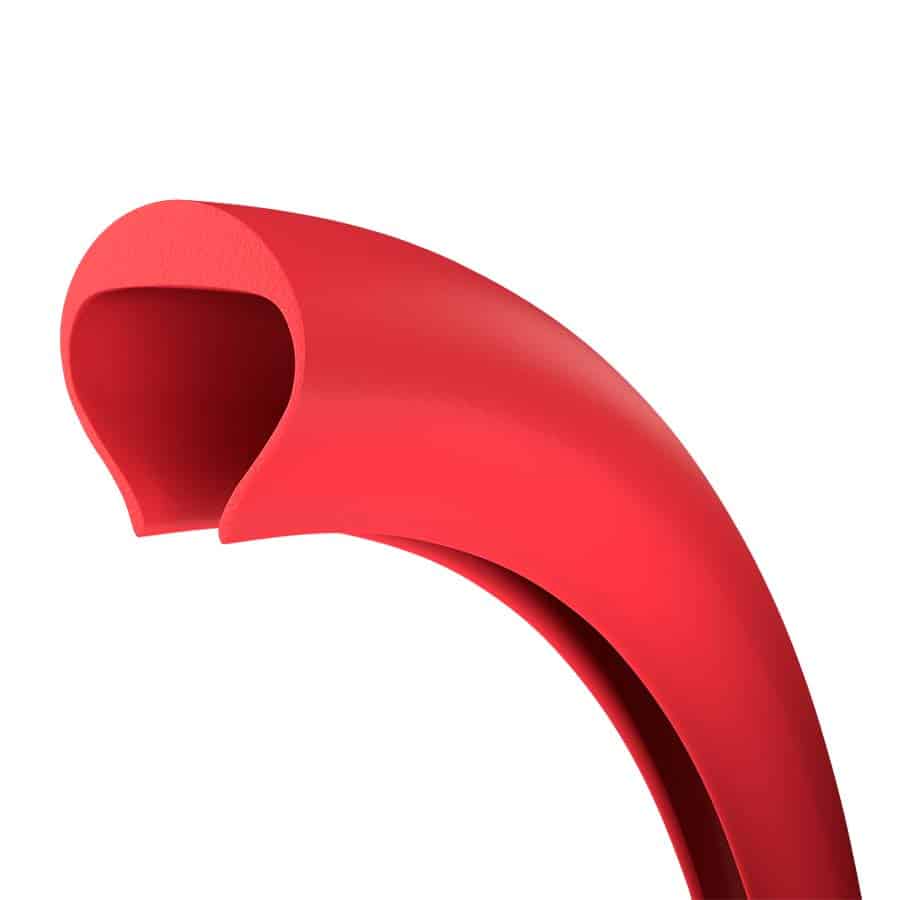
1. Cut of the Tannus Armour
Before installing Tannus Armour, check if your tire size is among the sizes shown in the table.
Once checked, cut the side of the Armour with scissors to the size indicated by the cutting line.
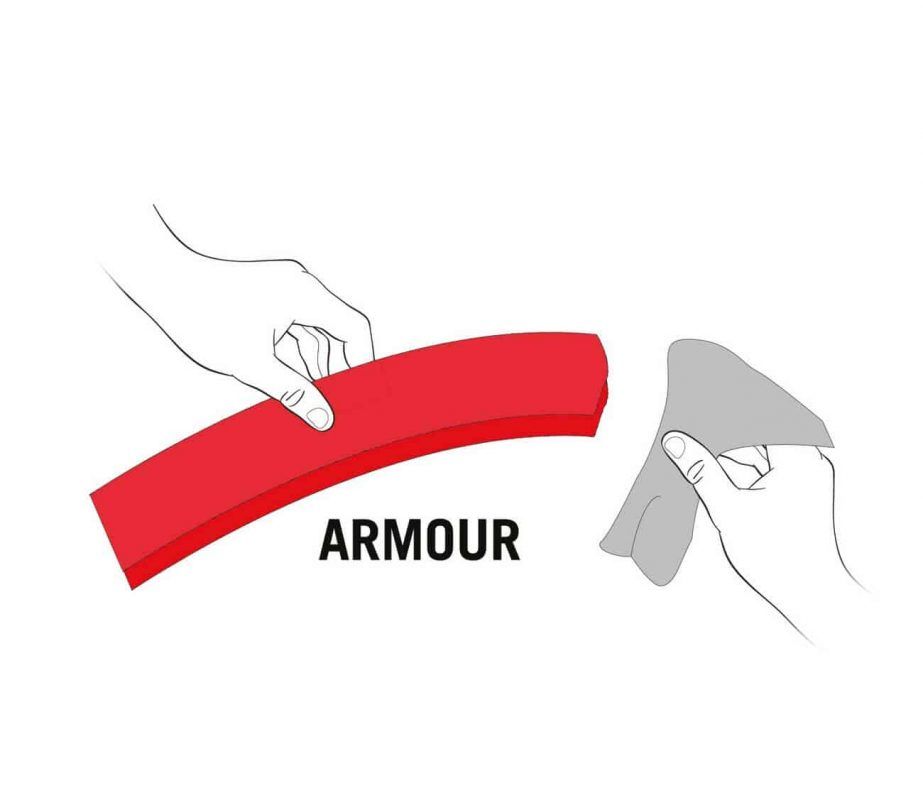
2. Clean the armor
Clean the inside and outside of the Armour with a soft cloth before installation.
Dust and other foreign objects can affect the lifespan of the Armour.
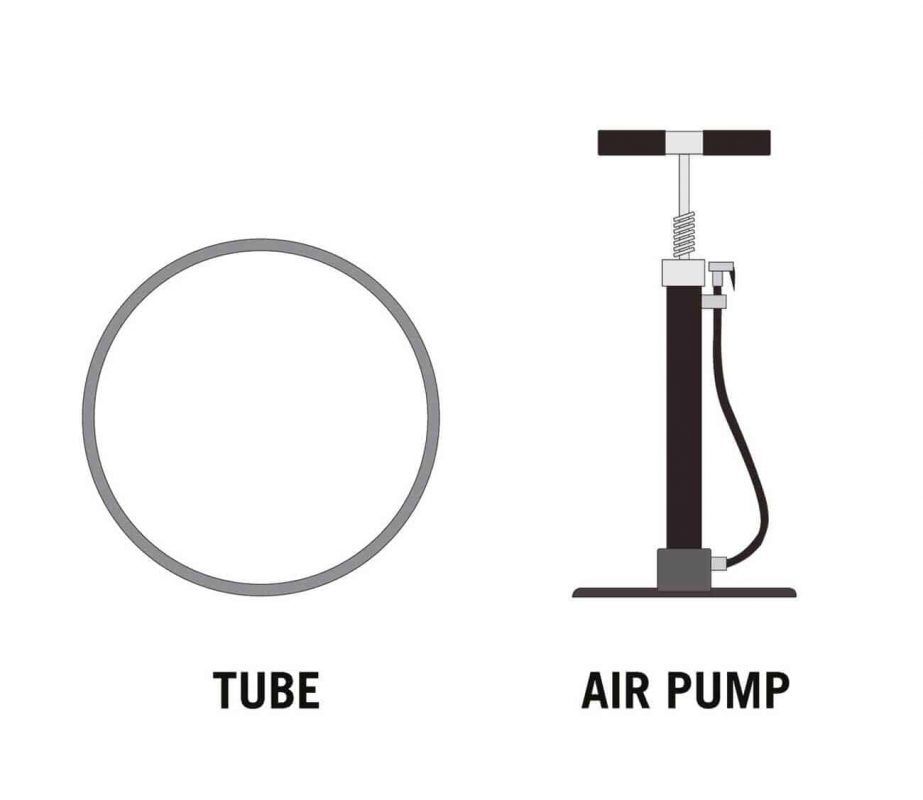
3. Inflate the chamber
Slightly inflate the inner tube. This helps position it inside the armor.

4. INSTALL ONE SIDE OF THE COVER AND ARMOUR
First, seat one side of the cover around the rim, then place the Armour inside the cover and rim.
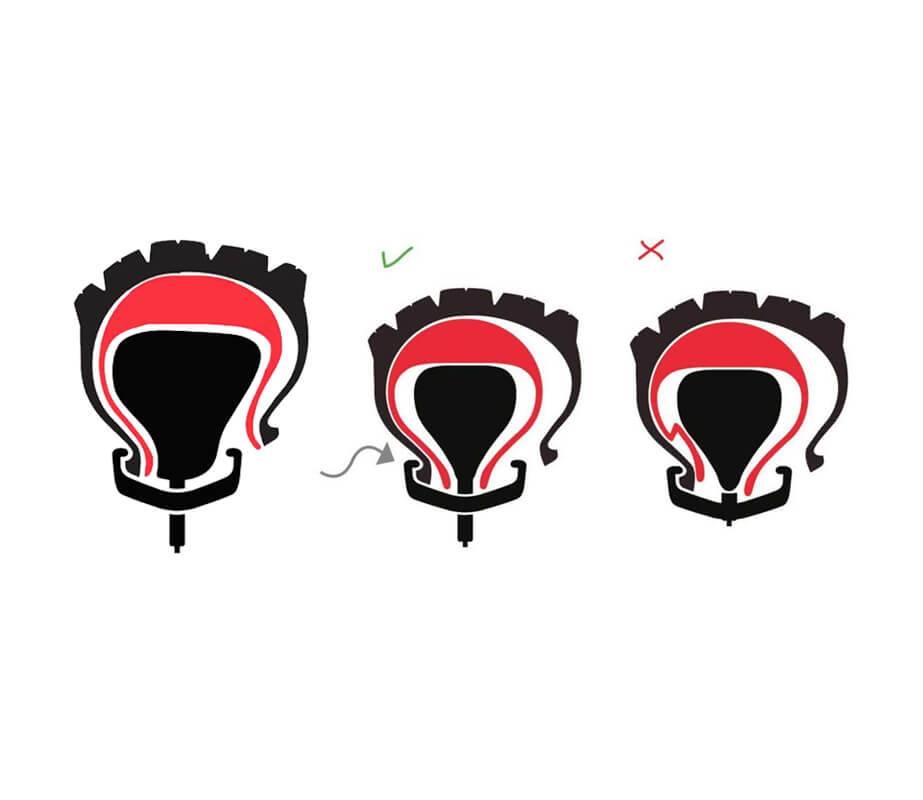
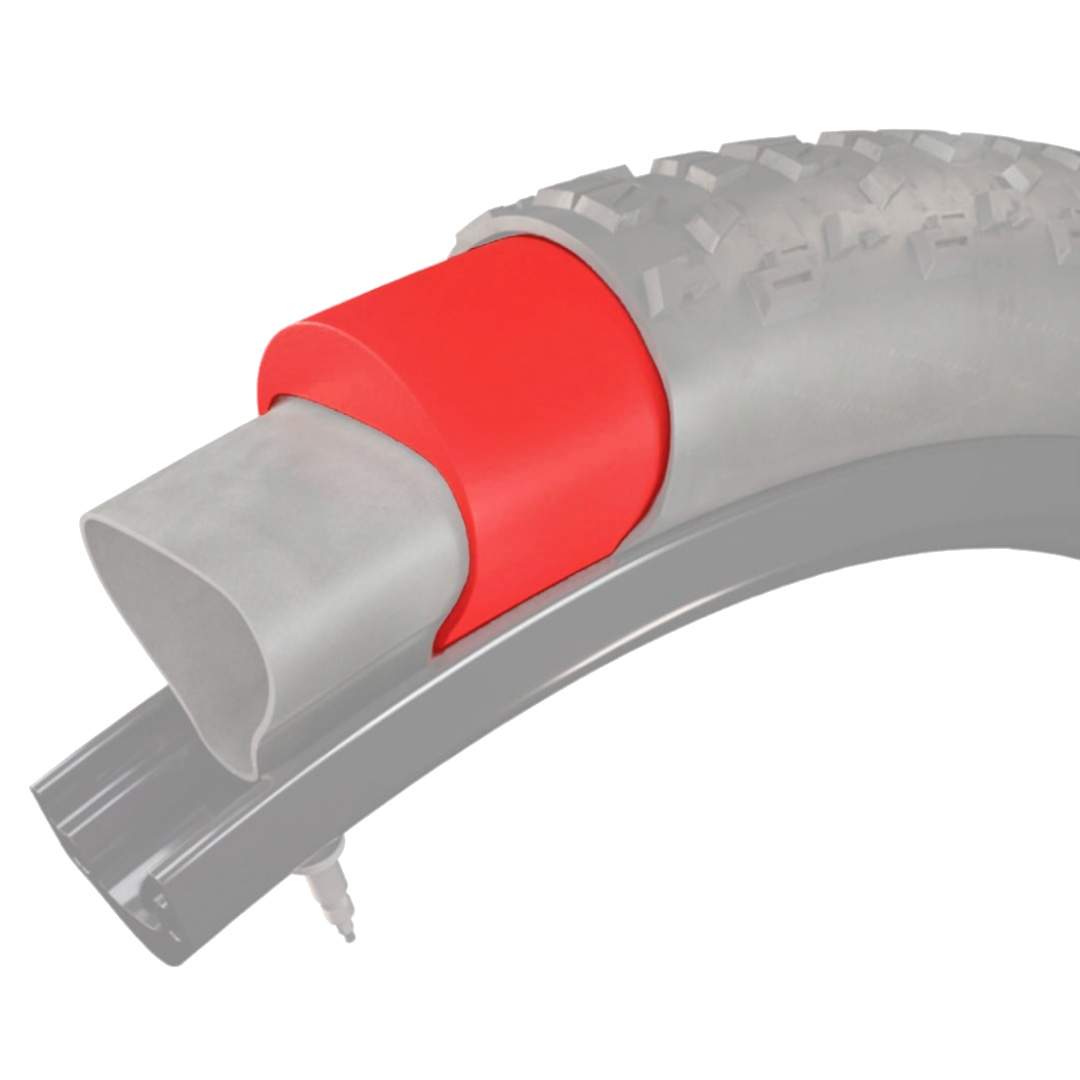
5. INSERT THE CAMERA INSIDE THE ARMOUR
First, place the valve stem of the inner tube into the hole in the rim, and then place the rest of the inner tube inside the Armour. (Making sure the wings of the Tannus Armour are not folded.)
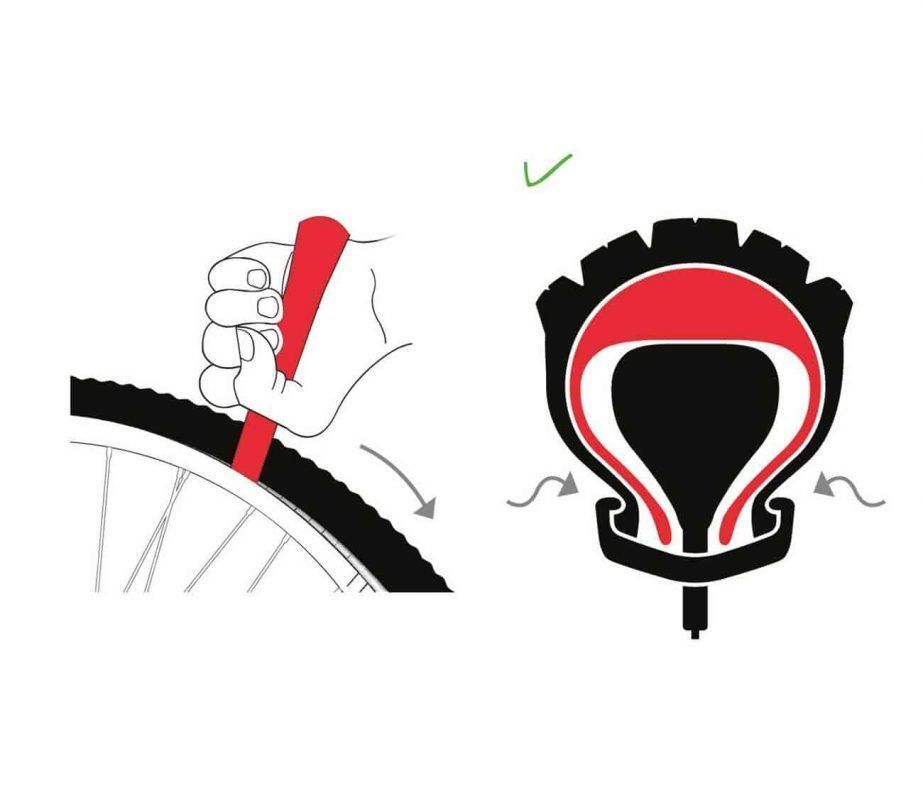
6. Seat the tire on the rim
After placing the remaining wing of the Armour on the rim and ensuring the inner tube is not pinched between the Armour and the rim, seat the other side of the tire on the rim using a tire lever. (Taking care not to damage the Armour's side wings.)
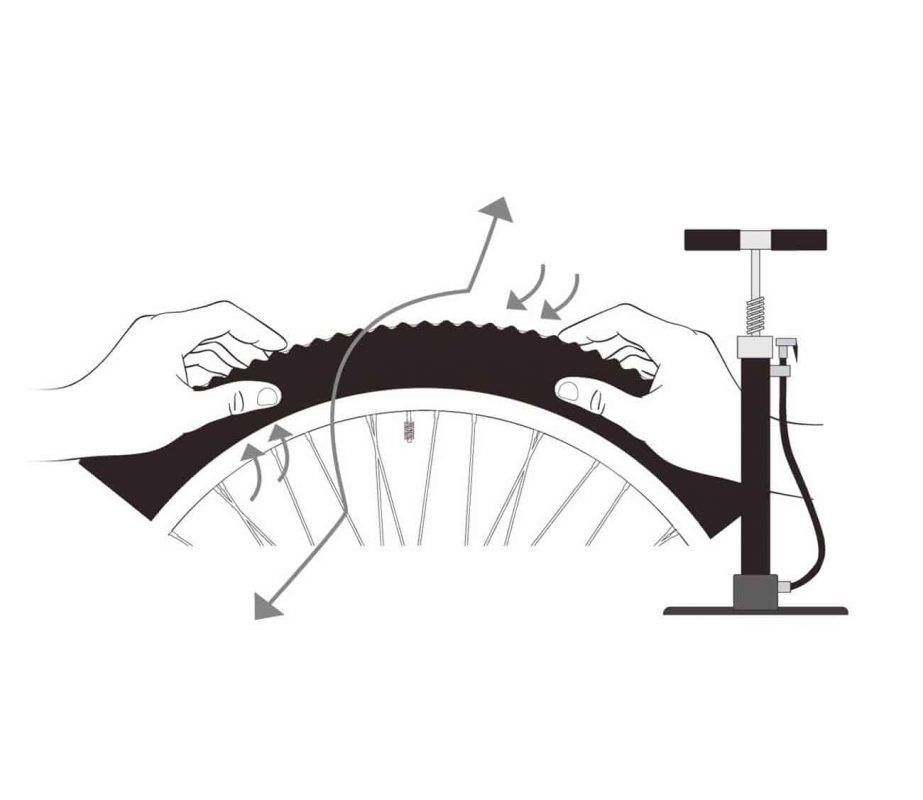
7. Inspection & Inflation
Check that the tire is correctly installed. Inflate to high pressure so that the entire assembly is properly seated. Then, choose your preferred inflation pressure.
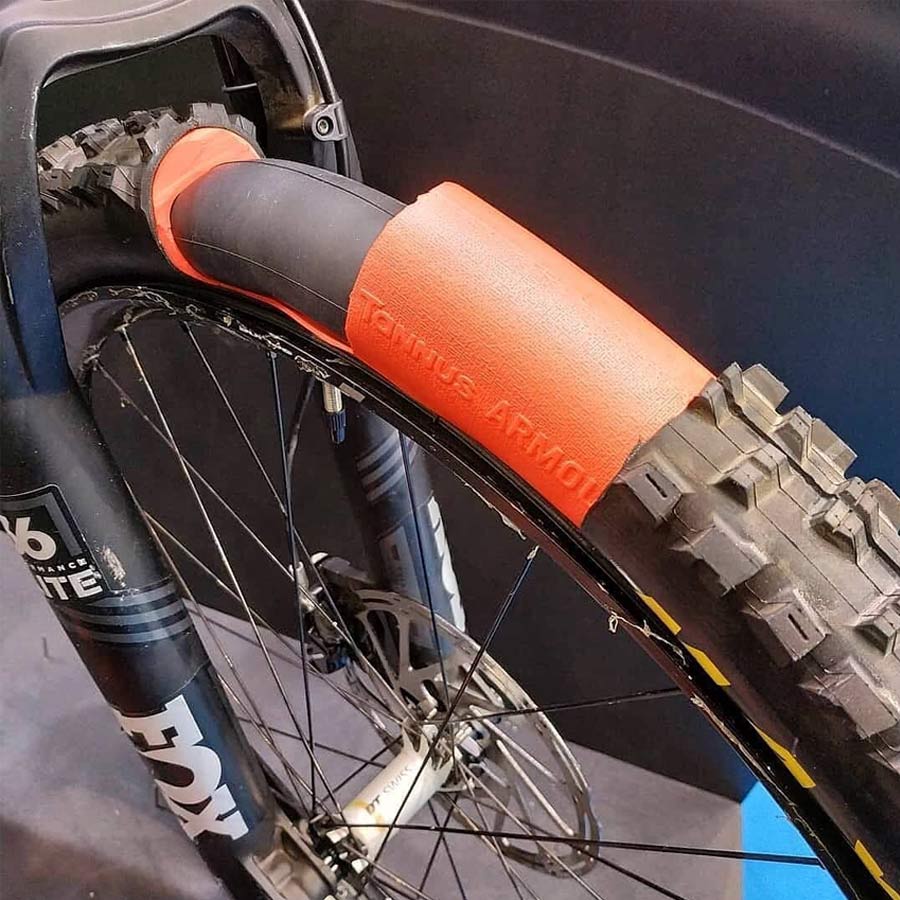


Tannus Armour


